Learn how to edit your page content and styles in the landing page and website pages editor. To create great content on your page, work with a web developer to build your template layout in the design manager tool. If you don't have a web developer on your team, you can connect with a certified HubSpot Partner, or search for templates on the Asset Marketplace.
Use a landing page to present a content offer to attract new visitors to your site. In the website pages tool, you can manage all your site's content in HubSpot. If you're looking for design inspiration, check out the Designers Forum.
Access the page editor
Create a new page or edit an existing page in your pages dashboard. In your HubSpot account, navigate to your landing page or website pages
Create a new page
To create a new page from scratch:
- Click the Create dropdown menu and select Website page or Landing page.
- Click a template to use it as the layout of your new page.
- Give your page an internal page name and click Create page. You'll give your page a public-facing name for search results in your page settings. You'll need to give your page another title in your settings before publishing it.
Edit an existing page
To edit an existing page:
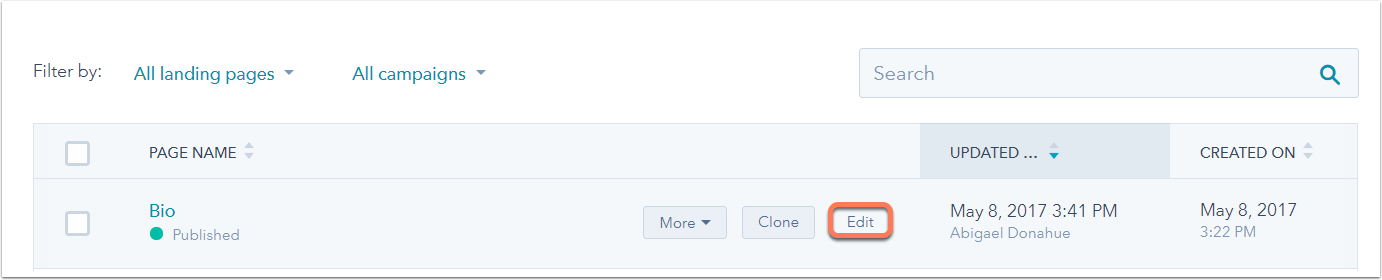
- In your HubSpot account, navigate to your landing pages or website pages.
- Hover over an existing page in your dashboard and click Edit.
Edit your page content
Within the content editor, you can edit the contents of each module included on your template. If you'd like the ability to edit the layout of your page or add new modules within the page editor, work with your web developer to add a drag and drop area to your page template.
Edit content in a module
In the Contents tab on the left, you can view and edit all the modules in your page template. Click a specific module to edit its contents or styles in the left sidebar. If you prefer a more immersive experience in the content editor, you can close the left sidebar by clicking the first arrow icons in the upper left.
To edit content inline directly within the main content editor, hover over your module and click the edit pencil icon
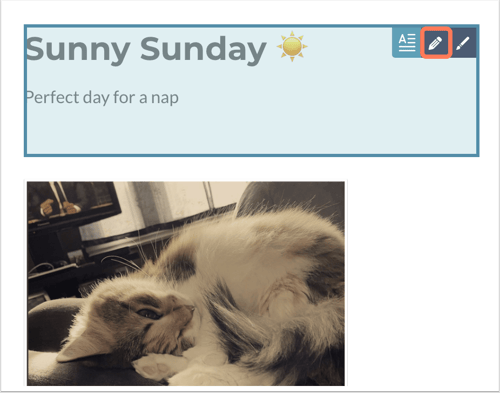
Rich text, header, and single line text modules can all be modified directly in the page editor. The rest of your module types can be edited in the left panel editor.
If your template contains a drag and drop area or flexible columns, you can edit or rearrange your modules in the page editor or in the module sidebar.
To undo or redo an action in the page editor, click the undo icon undo or redo icon redo in the upper left.
Please note: only edits made during the current session in your web browser will be available to undo or redo. If you refresh the page editor, your previous edits will no longer be available.
Edit your page settings
To edit your page settings and add some basic page information, click the Settings tab at the top of the page editor:
- Internal page name: the internal page name is the name you added when you first created the page and is referred to in the dashboard. It is not shown to visitors.
- Page title: the title that displays in the tab at the top of your web browser when the page loads.
- Page URL: the URL for your page. It appears in the URL bar within the browser when visitors navigate to this page. You can edit your page URL even after it's been published.
- Add page to a menu: add the current website page you're working on to a new or existing advanced menu in your content settings.
- Meta description: the content that will appear in search results below the page title.
- Campaign: associate your page to a HubSpot campaign. Select Add new to create a new campaign.
- Featured image: click to toggle this switch on for a specific image to be featured when your page is shared on social media. Click Upload to select an image from your computer or Browse images to select an image from your file manager.
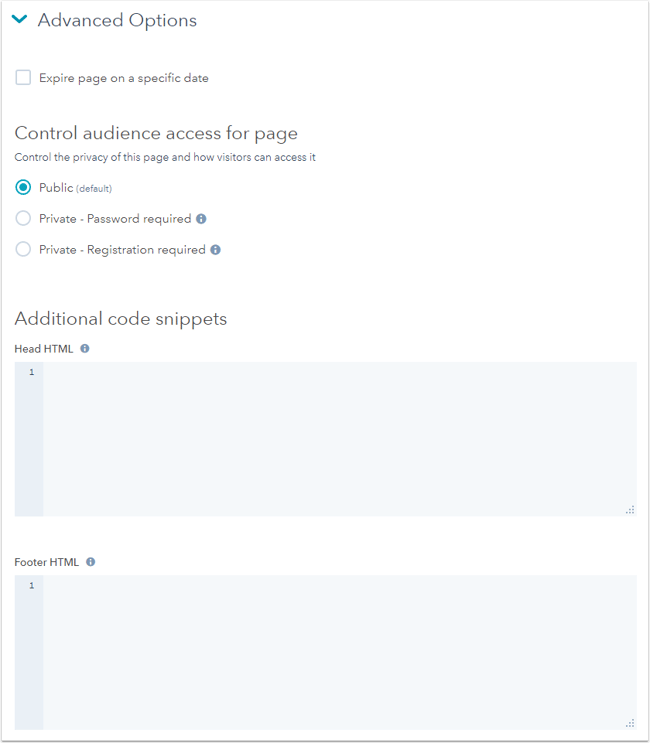
Advanced Options
Click Advanced Options to customized more settings for your page. Note that these settings are not required to publish your page.
- Expire page on a specific date: select the checkbox to schedule your page to expire and redirect on a specific date.
- Control audience access for page: select an option to control audience access for this page. Select Private - Password required to add a required password for visitors to access your page content, or Private - Registration required to allow visitors to register with your site before viewing the page. Learn more about controlling audience access.
-
Additional code snippets: add code snippets in the Head HTML or Footer HTML fields. This is useful for adding raw HTML or tracking to the
or
- HubDB: if you use a HubDB table to manage a dynamic database, click the Select a table dropdown menu and select the table to add to your page.
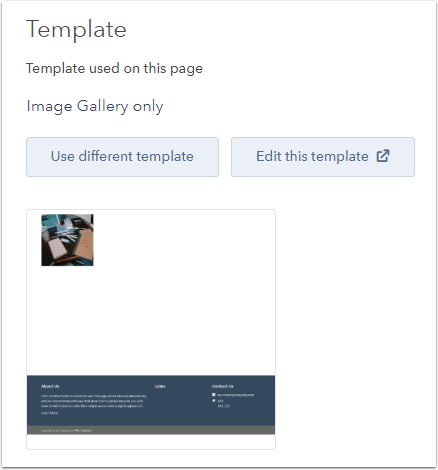
- Template: view the template applied to your page. Click Use different template to apply a new template to your page, or Edit this template to edit your template.
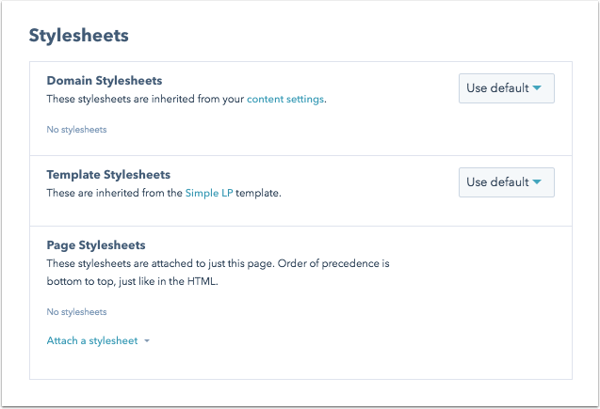
- Stylesheets: manage the stylesheets attached to your page. To select if the default stylesheets should be enabled, disabled, or follow the default settings, click the dropdown menu and an option. Click Attach a stylesheet and select an existing stylesheet to attach to your page.
- Canonical URL: customize your page's canonical URL.
Preview your page
In the upper right, click Preview to see how your page will appear to visitors to your page.
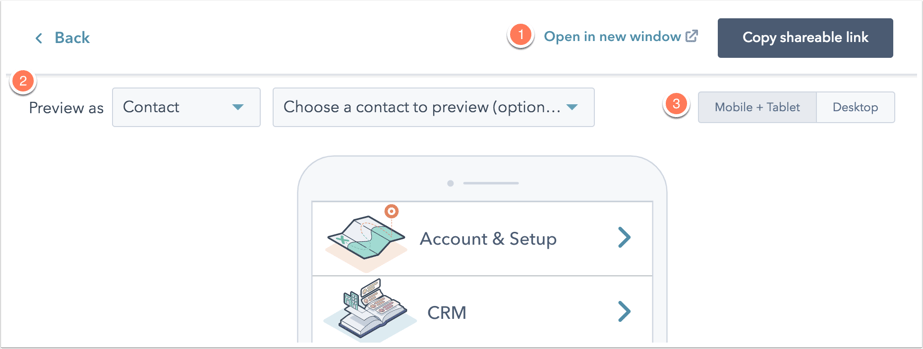
- Device preview: click Open in new window to see a live preview of your page in a new tab in your browser. This preview link will work before your page is actually published. Click Copy shareable link to copy the link to your clipboard to share it with your team.
-
Smart preview: click the Preview as dropdown menu to preview how your page will appear for different contacts in your database.
- Select a contact to preview how personalization will appear based on that particular contact's property values. Click the second dropdown menu to select a specific contact from your database.
- Select a smart rule to preview how smart content on your page will appear to contacts who meet its criteria. Click the second dropdown menu to select a specific smart rule to preview.
- Device type: click Mobile + Tablet to see a live preview of your page on a phone or tablet device. Click Desktop to see a preview of how your page will appear on a web browser.
Publish or schedule your page
After you've added your content, optimized it for search engines, and previewed how it will look to visitors, you're ready to publish your page.
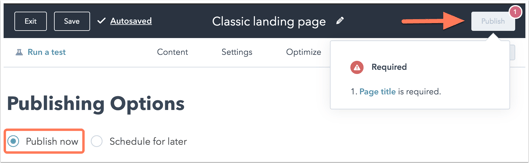
- Click the Publish or schedule tab and select Publish now to publish immediately, or Schedule for later to publish this page at a future date and time.
- If there are any required items missing from your page, you'll see an alert in the upper right corner of the Publish button.
- Once you've finished completing all the required items for your page, click Publish.